Want Perfect Beachy Waves? Here's Your Super Easy Cheat Sheet
It's not hard, we promise.

Beach waves should be the easiest of summer hairstyles. Step out of the shower, towel off hair and let strands air-dry into a magical cascade of perfectly imperfect waves. Unfortunately, the reality usually skews heavily toward the ‘imperfect’ part of that equation. After trying countless techniques, we found one, and only one, that’s not just effective but actually super easy. Ahead, everything you need to achieve Selena Gomez-level surf-tousled hair...without setting foot seaside.
FLATIRON + BRAID = BEACH WAVES
STEP 1: Prep and Protect
Your first course of action: Prevent strands from becoming over-baked when you head in with your flat iron. Finger-comb Bumble and Bumble’s heat-protectant mousse/salt-spray hybrid into dried hair to do just that while also adding beachy texture.
Bumble and Bumble Surf Foam Spray Blow Dry Spray Mousse
STEP 2: Braid and Clip
Plait prepped hair into 2 to 6 braids, according to your hair’s thickness, keeping in mind that in this instance less is very much more. (Make your braids too thin and you’ll look like you dug out that Ginger Spice-inspired crimping iron you bought several Halloweens ago). Secure the tips with the tiniest little hair clips you can find. Bonus points if they’re gold.
L. Erickson Gold Mini Jaw Clips
STEP 3: Heat Your Braids
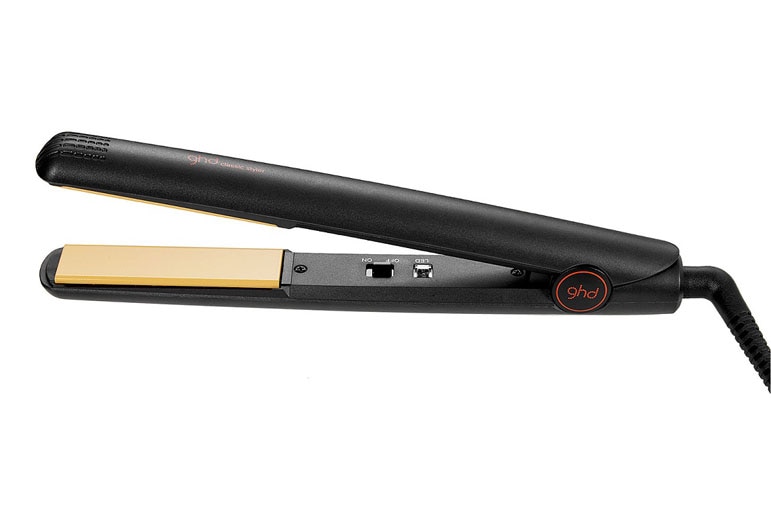
Grab your flatiron. (This one holds steady at 185 degrees, aka the perfect not-too-hot, not-too-cool temperature.) You will be making a triple pass. First pass: Work the iron from top to clip by squeezing and pinching as you hop down each section to flatten the lumps and bumps of your braid as you go. Stop just above the clip. Passes two and three: Since your braid is now a little flattened out, for your next two passes, simply squeeze your flat iron plates together at the top of the braid, hold the pressure and slowly run it from top to clip. Repeat.
GHD Classic 1-inch Styler
BUY FROM: Ulta, SALE $119 (Regularly $149, 28% Off!)
STEP 4: Restrain Yourself
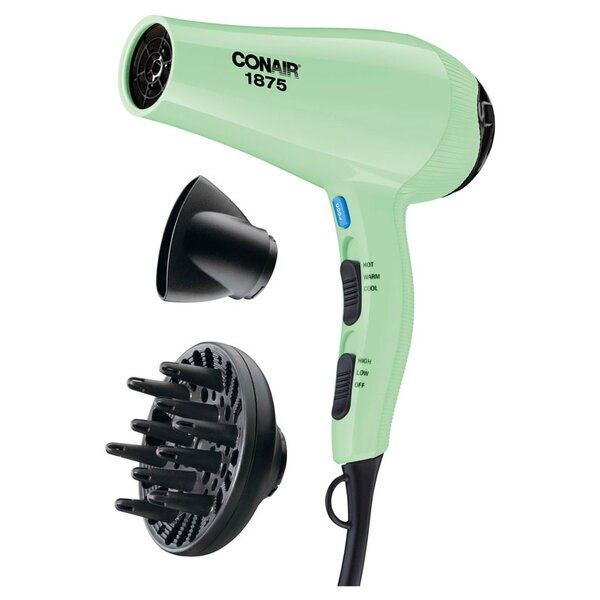
You’re going to want to start unbraiding immediately to see your results. Don’t. You have to let the braid fully cool, all the way to the inside of the plait, or your waves won’t hold. This will take around 10 minutes. To speed up the process, grab a hairdryer with al cool button and blast away. Once cooled off, remove golden clips.
Conair IonShine Ceramic Dryer
STEP 5: Comb Through
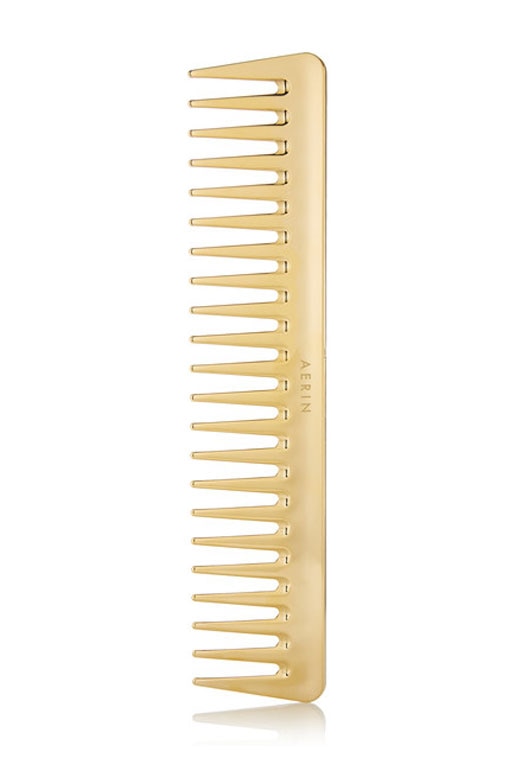
Unweave your cooled braids using your fingers, then—if you’re feeling it—comb through using a wide-tooth comb like this golden one that just scored you even more bonus points, again, simply for being gold.
Aerin Beauty Large Gold-Tone Comb
STEP 6: Quash Frizz

What’s that frizz doing there ruining everything? Mist it into oblivion with a quick spritz of a super-light de-frizzer. Hold at least 18-inches from to avoid saturating strands and loosening your waves.
Alterna Haircare Caviar Anti-Frizz Dry Oil Mist
STEP 7: Texturize Roots
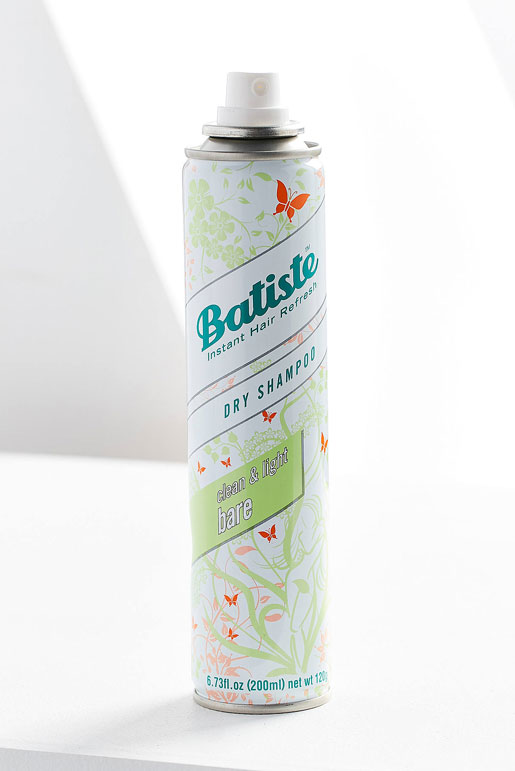
Totally optional, but if you’ve got more volume going on at the ends than at your roots, boost things with dry shampoo.
Batiste Dry Shampoo
STEP 8: Admire Your Skills
See, looking pretty good, right? Very beachy in a Daryl Hannah in Splash way, wouldn’t you say? If there are a few stray strands that could use a little more structure, though...
Frasco Double-Sided Mirror
STEP 9: Touch Up
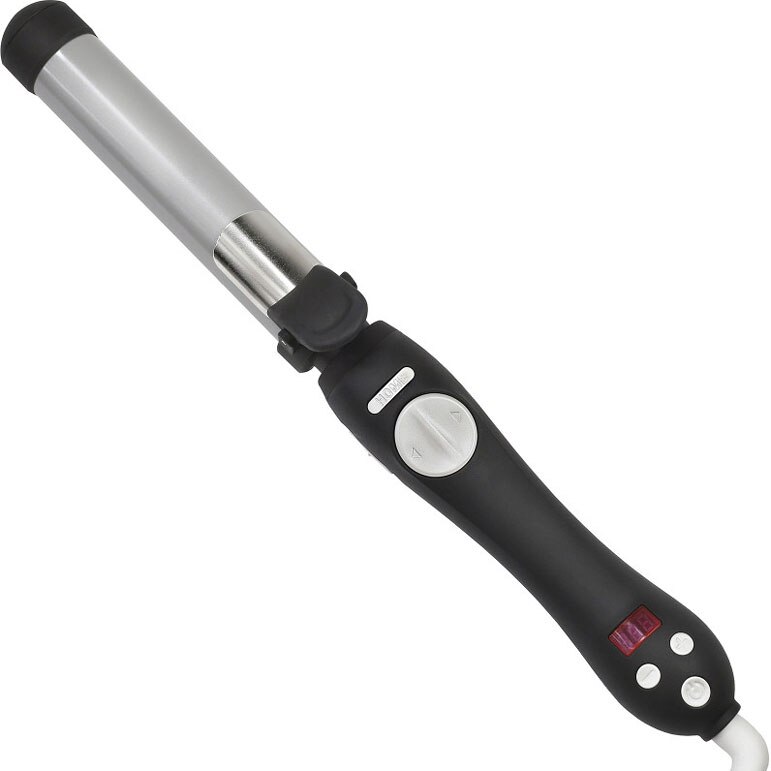
Head in strategically with a clipless curling iron like this one, created specifically to give you the look you’re going for. Done and done.
Beachwaver Co. Curling Iron


